Short answer
To get an EV charger installed at home, check your car's charging specs and your home's supply, choose a charger, then book a licensed electrician for an assessment and fixed written quote. After any approvals, the electrician installs, tests and certifies it. A simple install often takes a few hours, and the whole process often one to three weeks.
Key takeaways
- Installing an EV charger at home in Australia means arranging a licensed electrician: your job is planning, comparing quotes and approvals.
- Most house installs take one to three weeks from enquiry to first charge, and the install itself is often done within hours.
- Compare quotes on what they include: charger model, cable route, circuit protection, CCEW, warranty and exclusions.
- Finish by setting one off-peak charging schedule, in the car or the charger app, to keep running costs down.
How to get an EV charger installed at home: step by step
- 1
Check your car and driving needs
Find your car's maximum AC charging rate and connector type in the owner's manual, and estimate your daily distance. Most drivers recharge overnight, so a 7kW single-phase charger comfortably covers typical Sydney driving for most EVs.
- 2
Check your switchboard and supply
Look inside the open meter box and switchboard doors (never remove covers or touch anything) and note whether you have single or three-phase supply, circuit breakers or old fuses, and spare space. Take clear photos of both, plus your parking spot, ready for quoting.
- 3
Choose a charger and location
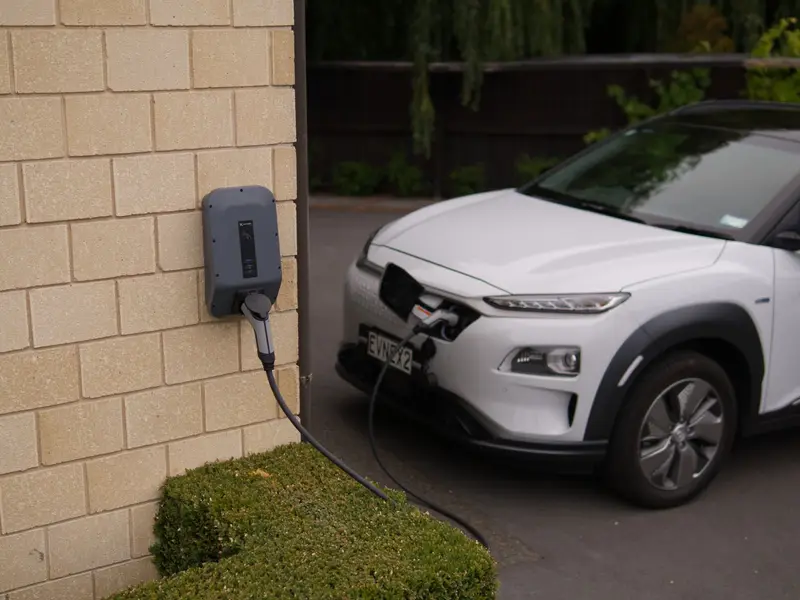
Decide between a basic or smart charger, tethered or untethered, based on your car, your tariff and any solar. Pick a sheltered mounting spot near the charge port that the cable can reach comfortably.
- 4
Get fixed written quotes
Ask licensed electricians for a site or photo assessment, then a fixed written quote listing the charger, cable route, circuit protection, CCEW and exclusions. Compare what each quote includes, not just the bottom line.
- 5
Arrange approvals and any upgrades
Get written strata approval or landlord consent where needed. If your switchboard or supply needs upgrading, that work happens first: EV Install coordinates it through trusted, fully licensed Level 2 ASP partner electricians, so you deal with one team.
- 6
Prepare for install day
Clear the wall, parking spot and switchboard area, and make the roof space access easy to reach. Have the car at home and your Wi-Fi details ready, and expect the power to be off briefly while the circuit is connected.
- 7
Install, test and commission
The electrician mounts the charger, runs the cable, fits a dedicated protected circuit and tests everything to AS/NZS 3000. They then set the charger's current limit, connect it to Wi-Fi and the app, and run a test charge.
- 8
Receive your CCEW and warranties
Your electrician issues a Certificate of Compliance for Electrical Work (CCEW) confirming the work is safe and legal. Keep it with the invoice, the workmanship warranty and the manufacturer's hardware warranty details in your house records.
- 9
Set up off-peak charging schedules
Set a charging schedule in either the car or the charger app, not both, to match your tariff's off-peak window. Check your plan or bill for the times, and re-check the schedule after daylight saving changes.
Search for how to install an EV charger at home and you will find plenty of wiring diagrams, but in Australia the practical answer is that you arrange a licensed electrician to do it. Fixed wiring is licensed work in every state, and our guide on whether you can install your own EV charger explains why. Your part is the planning: knowing what your car needs, choosing the charger, comparing quotes properly and getting any approvals sorted. Whether you call it a wallbox, a home charger or an electric car charging station at home, the process is the same. The steps above set out the order. Below, we go deeper on each phase: how long it really takes, what the electrician checks, how to read a quote, the red flags, and what actually happens on install day.
How long the whole process takes
For a standard house with a garage or carport, the whole process from first enquiry to first charge often takes one to three weeks. The install itself is the shortest part. Most of the time goes into assessment, quoting and, for some homes, approvals or switchboard work.
| Phase | Typical time | What can slow it down |
|---|---|---|
| Research and enquiry | A few days | Not knowing your car's onboard charger limit |
| Site assessment | Under an hour on site, or photo-based for simple jobs | Long runs or older switchboards that need a visit |
| Written quote | Same day to a few days | Switchboard work that needs a separate partner quote |
| Approvals | None for most freestanding houses | Strata approval or landlord consent, which can take weeks or longer |
| Charger supply | Popular models are often in stock | Specific models or cable lengths on back order |
| Switchboard work, if needed | Scheduled before the charger | Network operator involvement for supply or meter changes |
| Install day | A few hours to a full day | Long, concealed or underground cable runs |
| Setup and paperwork | On the day, with the CCEW to follow | Weak Wi-Fi at the charger location |
If you live in a strata building, the approval stage usually dominates the timeline, so start that conversation before you shop for chargers.
What happens at the site assessment
A proper assessment is what turns a ballpark into a fixed price. Whether it happens in person or from photos, a good electrician checks:
- Your supply. Single or three-phase, the main switch rating, and the existing load from air conditioning, hot water, pool pumps and cooking. This is a maximum demand assessment, and it tells them whether the charger can run at full output or needs a current limit or load management.
- The switchboard. Spare space, existing protection, age and condition.
- The cable route. Distance, wall and ceiling access, roof space or subfloor, and whether any section has to go underground.
- The mounting position. Wall type, distance to the charge port, weather exposure and impact risk.
- Connectivity. The Wi-Fi signal at the charger, if you are going smart.
- Your car and habits. Onboard charger limit, connector, daily distance, whether you have solar, and your electricity tariff.
For simple jobs, clear photos of the switchboard, meter box and parking spot are often enough. Long runs, older switchboards and multi-storey homes usually warrant a visit. If you have not yet checked whether your home suits a charger, our home suitability checklist is a good starting point.
How to compare EV charger quotes
Comparing quotes on the bottom line alone is how people end up with a cheap install and an expensive problem. Line them up against what each one actually includes.
What a good quote includes
- The exact charger make, model and output
- Cable size and how it will be run: surface conduit, concealed or underground
- The protection at the switchboard, meaning a dedicated circuit with an RCBO, and how DC fault protection is handled
- Mounting, testing and commissioning, including Wi-Fi and app setup
- The CCEW
- Workmanship warranty terms, and who registers the hardware warranty
- Clear exclusions, such as switchboard work, trenching, patching and painting
- Whether the price is fixed or only an estimate
What affects the price
In Sydney, a standard single-phase home charger supplied and installed typically costs $1,200 to $2,200. Labour-only installs on short, simple runs are often under $1,000. The price rises with three-phase supply, longer or concealed cable runs, underground sections and smart features, and any switchboard work is quoted separately. Our EV charger installation cost guide breaks down each factor, and if you have your heart set on a Tesla unit, see the Tesla Wall Connector installation cost guide.
A smart charger costs more and earns its keep if you have solar, a tight supply or two EVs. On a time-of-use plan, your car's own scheduling may be all you need. Our smart EV charger installation page explains what the extra features do. Incentives come and go, so check Energy NSW for anything current before you buy.
Red flags to watch for
Most electricians quote honestly. These are the signs that a quote deserves a second look:
- A firm price given without any questions about your switchboard, supply or cable route
- No mention of a CCEW, or an offer to skip the paperwork for a cheaper cash price
- A suggestion that the charger can share an existing circuit, or plug into a standard power point with an adaptor
- Vague switchboard wording such as "should be fine" with no assessment behind it
- No detail on circuit protection, or reliance on a general-purpose safety switch alone
- Pressure to sign on the spot, or a large deposit before anyone has assessed the site
- No clarity on who will actually do the work and whether they are licensed
What happens on install day
Most home installs follow the same rhythm. On a straightforward job with the switchboard close to the garage, the electrician is often finished within a few hours. Longer or concealed runs, underground sections or a sub-board can take a full day.
Before the electrician arrives
- Clear the wall, the parking spot and the space in front of the switchboard.
- Make sure the manhole to the roof space is easy to reach if the cable is going that way.
- Have your Wi-Fi name and password handy, and the car at home for a test charge.
- Let the household know the power will be off for a short period while the new circuit is connected. Think about fridges, alarms, garage door motors and any medical equipment, and reset clocks afterwards.
The install itself
- The electrician confirms the mounting position and cable route with you.
- They mount the charger and run the cable to the switchboard.
- They fit the new circuit protection and connect the dedicated circuit.
- They test the installation, including insulation resistance, earth continuity, polarity and correct operation of the protection.
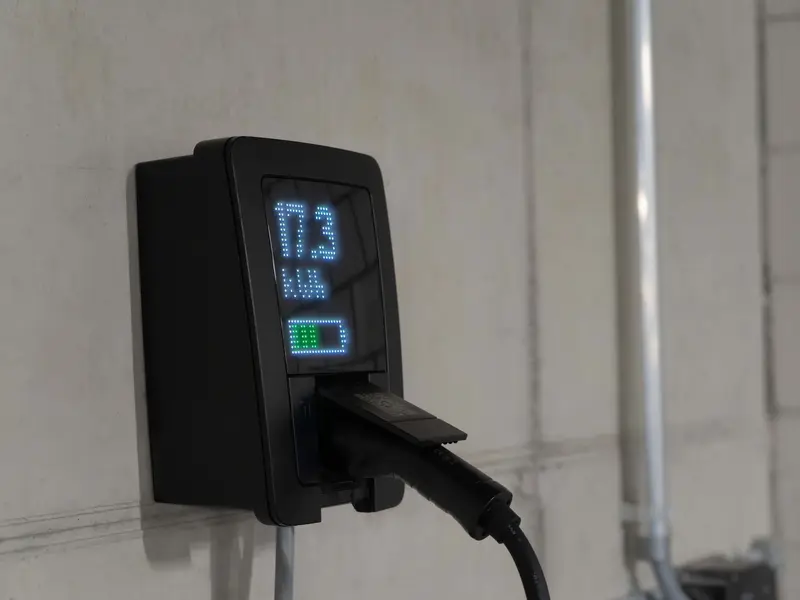
- They commission the charger: setting the maximum current to suit your supply, updating firmware and connecting it to Wi-Fi and the app.
- They run a test charge with your car and walk you through the app and the charger's basic functions.
After the install
The charger is working, but a few small jobs make sure you get the most from it.
- Keep the paperwork. File the CCEW, the invoice and your warranty details together. EV Install provides a 12-month workmanship warranty, and the manufacturer's hardware warranty is typically 3 years, depending on the brand.
- Set one charging schedule. Schedule charging in either the car or the charger app, not both. If both have schedules, the car may only charge where they overlap, or not at all. Our guide to scheduled off-peak EV charging walks through each option.
- Check your meter and plan. Cheaper overnight or midday rates need a time-of-use or EV plan, and those need a smart meter. Our guide on whether you need a smart meter for EV charging explains the difference between a smart meter and a smart charger.
- Make the most of solar. If you have panels, a solar-aware charger can soak up surplus daytime generation. Our solar EV charger integration service covers the setup.
- Re-check after daylight saving. Confirm the charger app's time zone and schedule when the clocks change.
Ready to get started
The first practical step is an assessment. EV Install offers free on-site quotes across Greater Sydney, with photo-based assessments for simple jobs and a fixed written quote before any work begins. If switchboard or supply work is needed, we coordinate it through our trusted, fully licensed Level 2 ASP partner electricians and manage the process, so you deal with one team.
Book your free quote and send through photos of your switchboard, meter box and parking spot to get things moving.
Related services
Written by Nathan Dawson, Founder & Lead EV Installer
A licensed electrician installing EV chargers across Sydney since 2017. Every install we quote is wired to AS/NZS 3000 and certified. More about Nathan.